How to Freeze Pierogi
Do you love pierogi but find yourself short on time to make them from scratch every time you crave them? Fortunately, pierogi freeze really well.
You can easily prepare a large batch of these delicious dumplings and enjoy them anytime you want. Plus, freezing pierogi is a great way to preserve them longer without compromising on taste or quality.
Let’s face it: making a single meal’s worth of pierogi is usually not worth the effort. Preparing the dough, filling, and shaping the dumplings takes quite some time. However, if you make enough for a few meals, that’s a different story.
That’s why whenever I make homemade pierogi, I make a large batch and freeze some (or most) of them. And that’s what I recommend you do too.
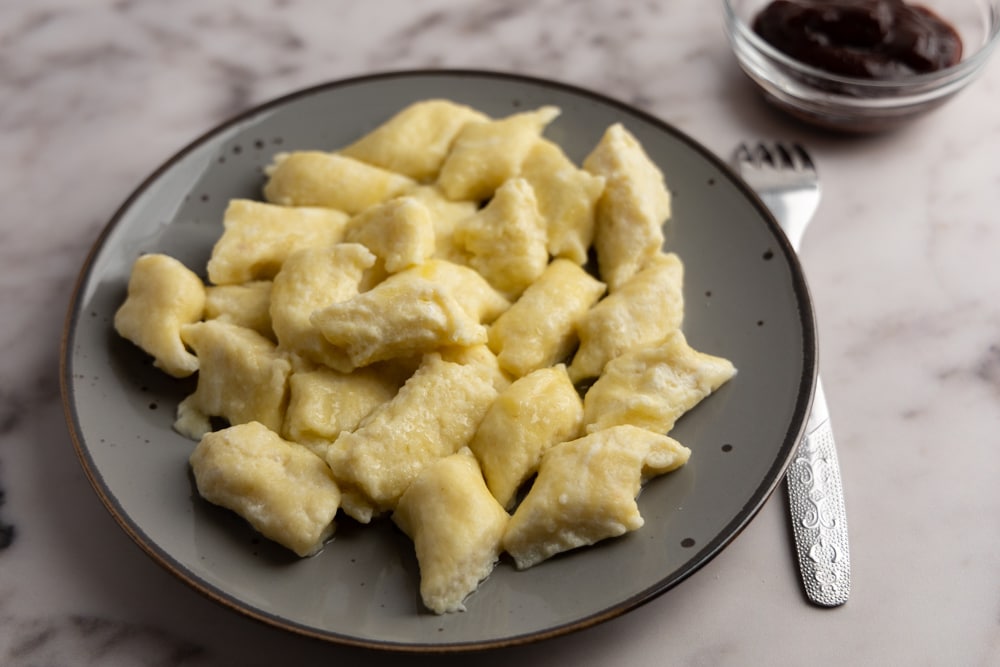
(The only exception is lazy pierogi, as these take only about 30 minutes to whip.)
Without further ado, let’s go over the freezing process.
How to Freeze Pierogi
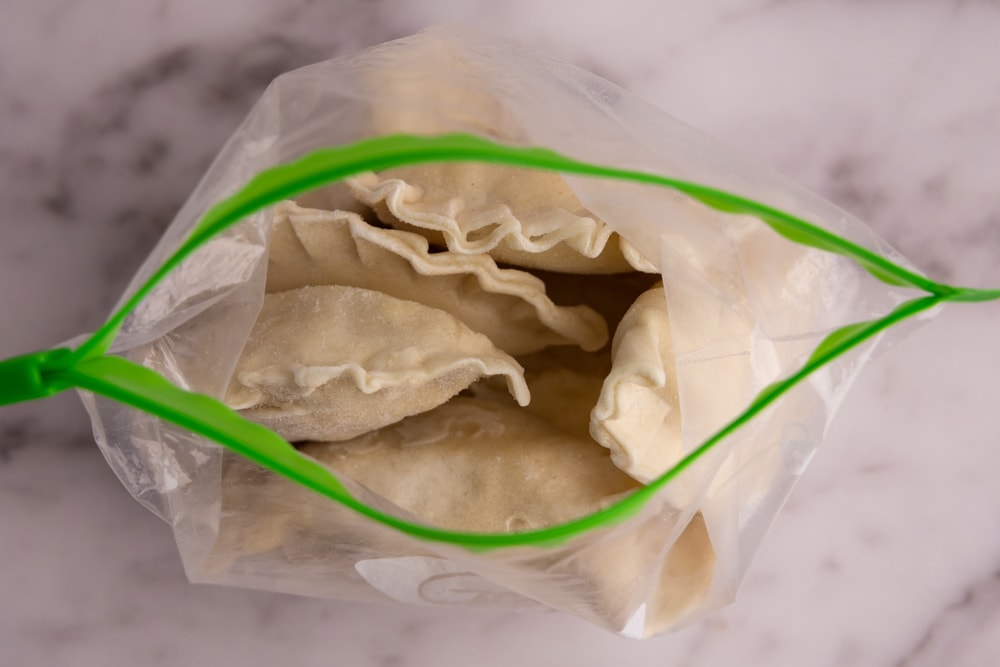
Cook your pierogi the usual way or plunge them into boiling water for 30 seconds. Then, spread them on a tray and let them cool. Freeze for 2 to 3 hours. Once frozen, transfer them to a freezer bag and store in the freezer. They will retain quality for at least 3 months.
By individually pre-freezing the pierogi, you can prevent them from sticking to each other in the bag. This allows you to easily take out as many as you need to cook at any given time.
That’s the overview.
Next up, let’s talk about the process in more detail.
Freezing Pierogi Step by Step
- Prepare pierogi. Start by making the pierogi dough and preparing the filling. Then, shape the pierogi as usual. Alternatively, you can use store-bought pierogi if that’s what you have on hand.
- Cook or blanch the pierogi. If you’re unsure how many dumplings you’ll freeze, you can cook all of them as usual. However, if you know in advance which ones will go into the freezer, you can blanch them in boiling water for 30 seconds or so. This will cook the pierogi dough enough to prevent it from breaking after defrosting and cooking. Personally, I cook all the pierogi as I usually don’t know how many will end up in the freezer.
- Cool and dry. Place the pierogi individually on large plates to cool. Flip them after 15 to 20 minutes so that the other side dries as well. You don’t want any water drops on the surface when you freeze them, or you’ll end up with frost on the pierogi. I discuss this in more detail in our guide to homemade pierogi.

- Pre-freeze. Pre-freeze the pierogi by transferring them onto a tray or cookie sheet and freezing for 2 to 3 hours until the exterior is frozen solid. This will prevent the pierogi from sticking to one another when frozen for the long term. I like using a silicone mat to freeze them, as it makes them easy to remove from the tray once frozen.
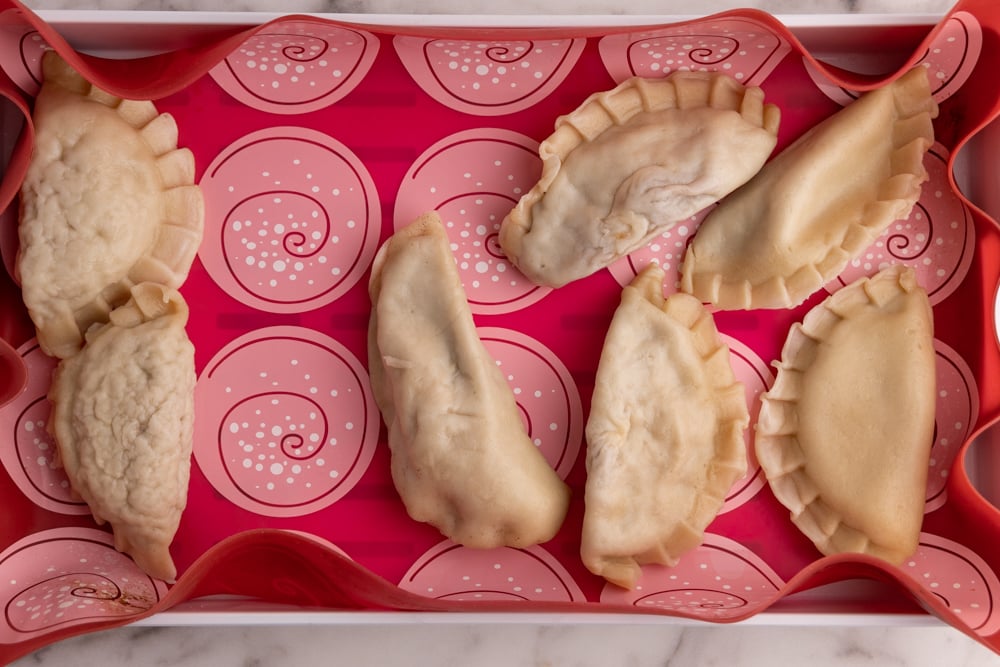
- Transfer. Transfer the frozen pierogi from the tray in the freezer to a freezer bag. If you have more than one type of pierogi (say, some meat pierogi and a batch of spinach pierogi), separate them into different bags and consider labeling each one. Without labeling, it may be difficult to tell them apart when the time comes to defrost them.

- Freeze. Put the bag in the freezer.
That’s it. Your frozen pierogi can sit in the freezer for at least a couple of months without much change in quality.
Next, let’s talk about what to do when the time comes to defrost and reheat the pierogi.
How to Defrost Pierogi
You can defrost your pierogi before reheating them or cook them from frozen. I usually opt for a slow defrost in the fridge, but you can still make it work if you forget to transfer them into the refrigerator the night before.
To defrost pierogi, remove the desired amount from the freezer and place them in an airtight container in the refrigerator overnight. Be sure not to overcrowd the container to prevent them from sticking together after defrosting. Also, ensure the container is sealed tightly to prevent them from drying out overnight.
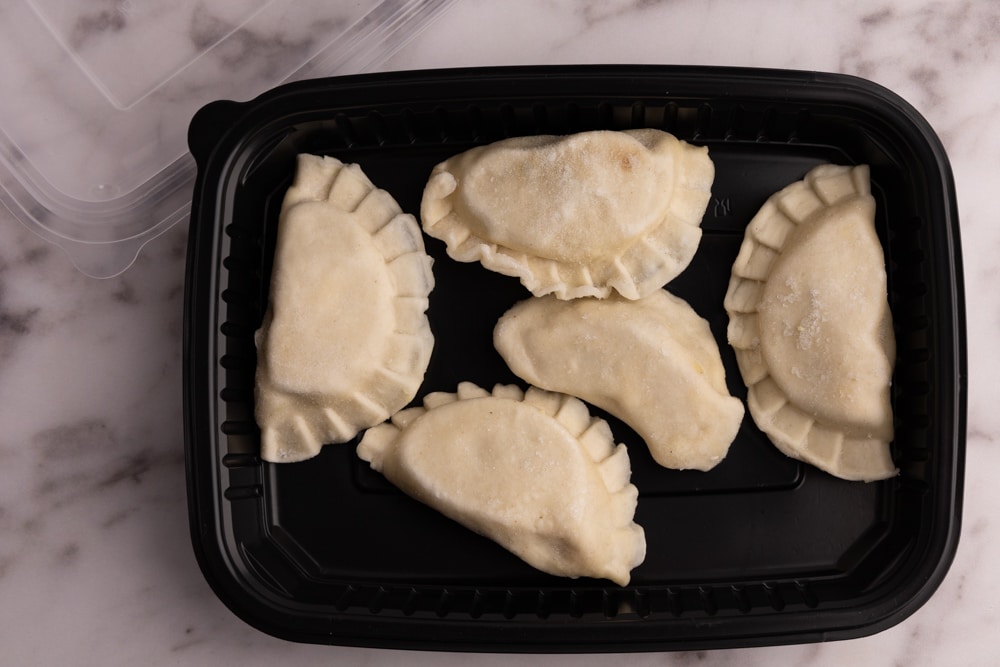
Those 12+ hours should be enough for the pierogi to thoroughly defrost and be ready for reheating.
The main advantage of defrosting pierogi instead of cooking them from frozen is that the cooking time will be much shorter. This method also reduces the likelihood of having pierogi that are hot on the outside but super cold on the inside.
With that out of the way, let’s talk about reheating pierogi.
How to Reheat Pierogi
There are several ways to reheat pierogi, depending on your preferences and whether or not they were fully cooked before being frozen.
Here’s how to choose the best reheating option for pierogi:
- If the pierogi were frozen fresh (e.g., store-bought), it’s best to cook them in water.
- If you blanched the pierogi as described earlier, you could cook them in water, on the stove, or in the oven.
- If the pierogi are pre-cooked, I suggest reheating them on the stove or in the oven. Cooking them again in water might make them watery or cause the dough to tear.
Next, let’s go through different ways to reheat pierogi.
In Water
Reheating pierogi in water is similar to cooking them in water for the first time. Begin by boiling a large pot of salted water, then add the pierogi. Bring the water back to a boil, and wait until the pierogi resurface. Once they have resurfaced, cook for an additional 3 minutes before draining and serving.
The method is the same for both frozen and defrosted pierogi. The only difference is that defrosted pierogi will resurface much sooner than frozen ones.
As for the amount of salt, I suggest using about one teaspoon of salt per quart of water. This works for me, but you might need slightly more or less depending on your preferences and the type of salt you use.
Sautee on the Stove
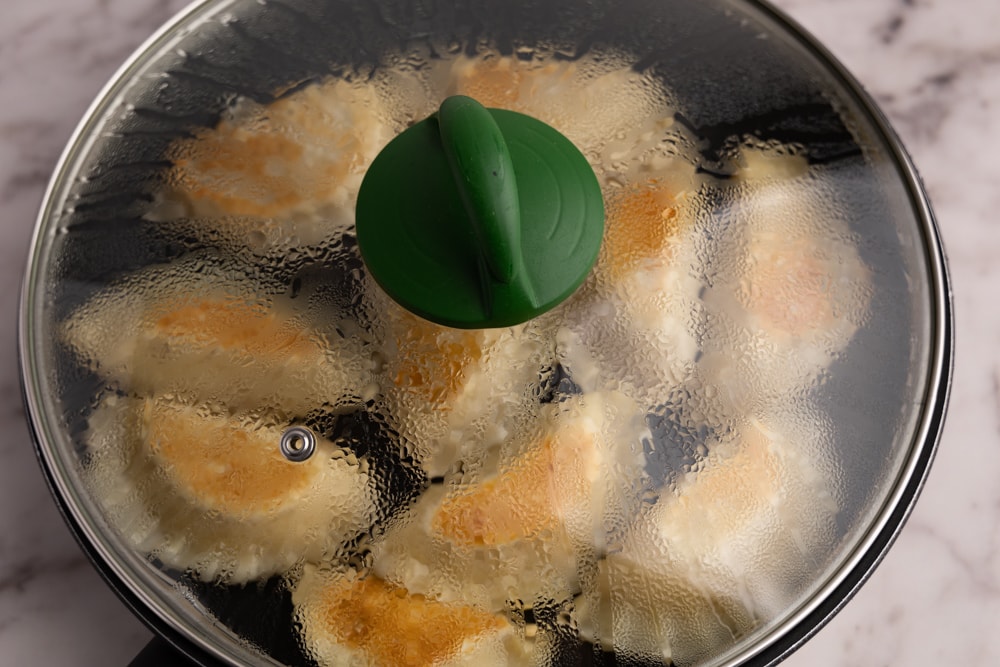
The best way to reheat pierogi is to sautee them on the stove. Heat a non-stick skillet on medium-low heat and add a few tablespoons of butter to cover the surface. Add the pierogi and cook them under a lid for 12-15 minutes, flipping halfway through. Shake the skillet every couple of minutes to ensure the pierogi don’t stick to the bottom.
If you prefer a crispy outside, you may need to use slightly higher heat or leave the pierogi on the stove for longer, flipping them only after one side is nicely crisped.
If you’re reheating frozen pierogi, you’ll need at least 20 minutes on the stove, depending on their size.
In the Oven
Preheat your oven to 400°F (or 200°C). Line a baking sheet with a silicone mat or parchment paper, or spray it with cooking spray. Brush the pierogi with melted butter or oil on both sides, place them on the baking sheet, and bake for approximately 20 minutes if frozen or 14 minutes if not. Flip the pierogi halfway through cooking.
I don’t like to bake pierogi in the oven because it takes over 10 minutes to preheat mine, and I don’t like washing the cooking sheet or mat due to their size.
Instead, I prefer to sauté the pierogi on the stove because it is quicker, and cleaning up the skillet, lid, and wooden spatula is less of a pain in the bottom, at least for me.
If you don’t mind using your oven and the cleanup involved, it’s definitely a good reheating option.
Can You Freeze Pierogi Dough?
You can freeze leftover pierogi dough, and it’s the best you can do when you run out of filling. Form the remaining dough into a ball, wrap it tightly with plastic wrap, and freeze. For added protection against freezer burn, you can place the wrapped ball into a freezer bag.
If you freeze various types of dough, such as pizza or bread dough, make sure to label the ball so that you know it’s pierogi dough in a few weeks.
When it’s time to defrost the dough, transfer the ball to the refrigerator and let it defrost slowly overnight. It will be ready to use the next day.
Finally, preparing pierogi dough in advance only to freeze it is not worth the effort. Prepping the dough is the quickest part of making pierogi and only takes 10 – 15 minutes of active time. Therefore, it only makes sense to freeze it if you’re out of filling, and throwing it out is your only alternative.
If you’re left with enough dough for only 1 to 3 pierogi, it’s probably better to discard it instead of using a bunch of plastic wrap to cover it.


![Sweet Cheese Pierogi Recipe [+2 Flavoring Options]](https://definitelynotachef.com/wp-content/uploads/2023/08/Sweet-cheese-pierogi-with-sauce-and-fresh-berries.jpg)

