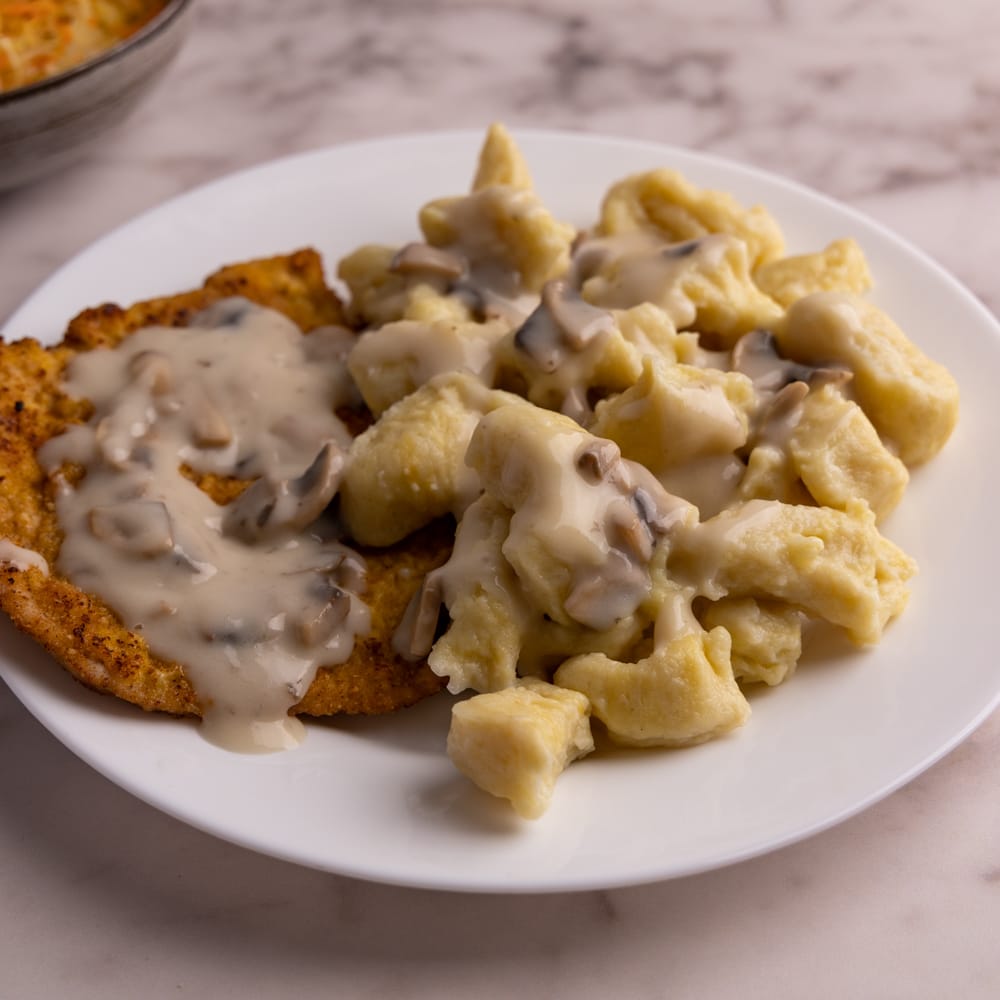
Polish Breaded Pork Cutlets Recipe (Schabowy)
If you’re looking for a satisfying and delicious dinner, look no further than this Polish breaded pork cutlets recipe! Crispy on the outside and tender and juicy on the inside, these cutlets are sure to become a new family favorite.
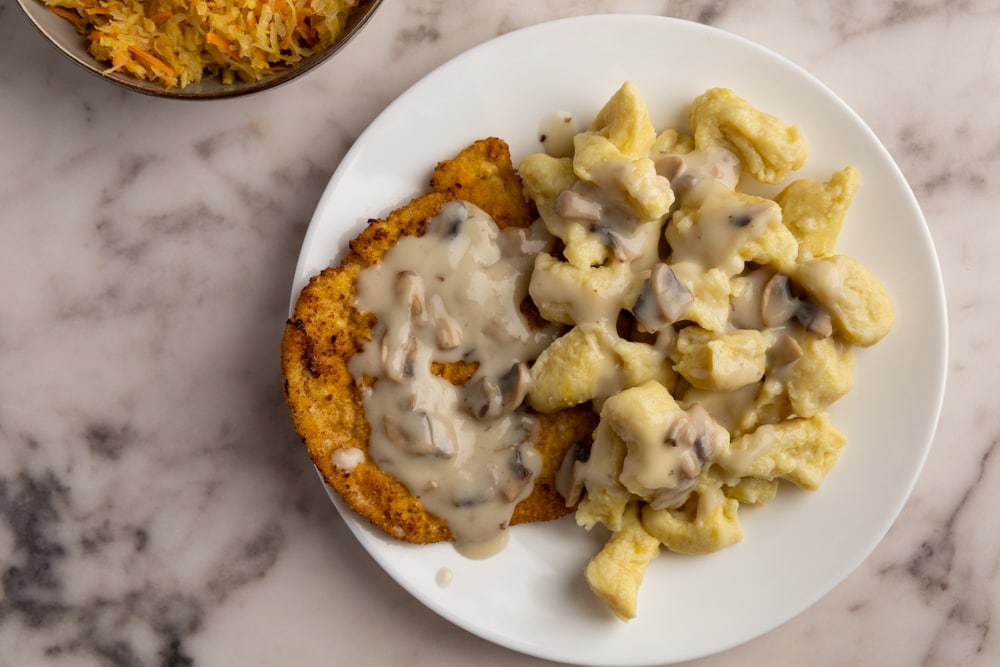
These polish breaded cutlets are a classic of Polish cuisine that remains popular to this day. If you hear the sound of pounding around noon on a Sunday, someone is undoubtedly preparing their meat to make Schabowy for dinner.
If you’re making these breaded pork chops for the first time, read the ingredients notes, step-by-step instructions, and tips. If you’re a veteran, feel free to jump to the recipe card.
Ingredients Notes and Substitutes
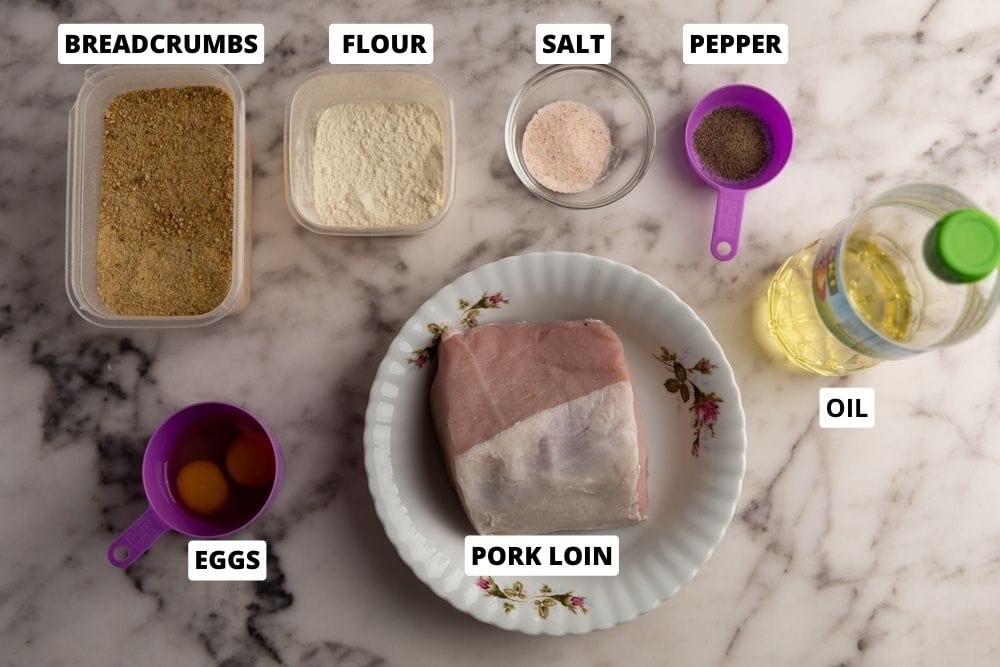
- Pork chops. You can buy the chops pre-cut or a pound’s worth of pork loin (which makes 5 to 6 chops) and cut the chops yourself. Alternatively, you can sub in chicken or turkey breast cut horizontally or vertically, depending on if you prefer smaller or larger pieces.
- Breadcrumbs. Store-bought or homemade are both okay.
- All-purpose flour. Some people like bread flour, whole wheat flour, or a combination of the three, so feel free to test all options. You can also skip drenching the chops in flour entirely, which I do sometimes.
- Egg. One medium egg per two cutlets is usually enough.
- Frying fat. In Poland, we traditionally use lard for frying pork chops, but any neutral-flavored cooking oil works well too.
- Salt and pepper. Salt and pepper are enough to make these chops great, but feel fry to experiment with other spices.
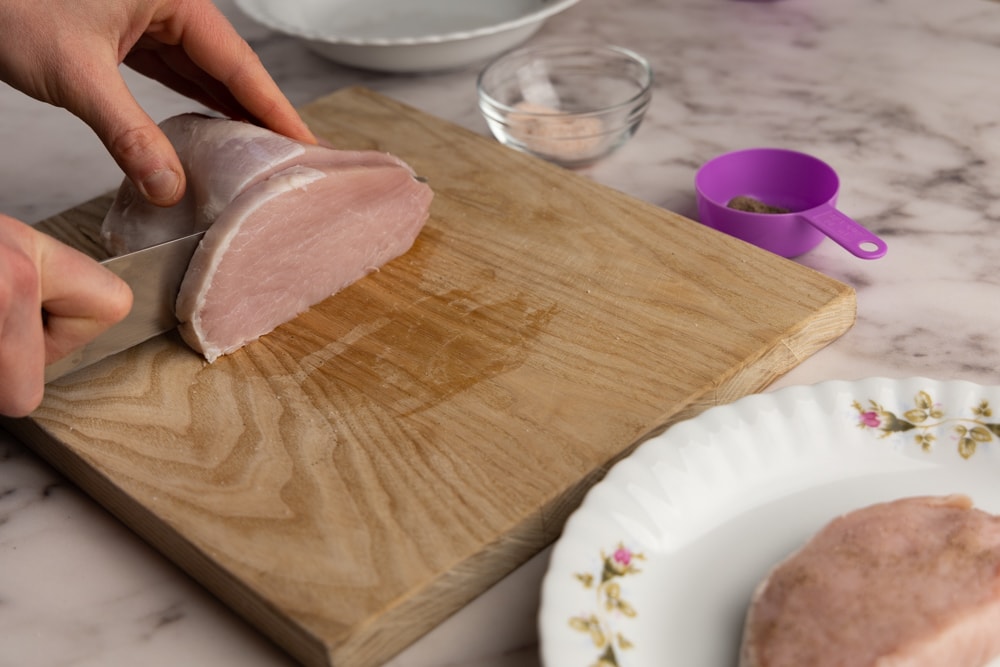
Step-By-Step Instructions
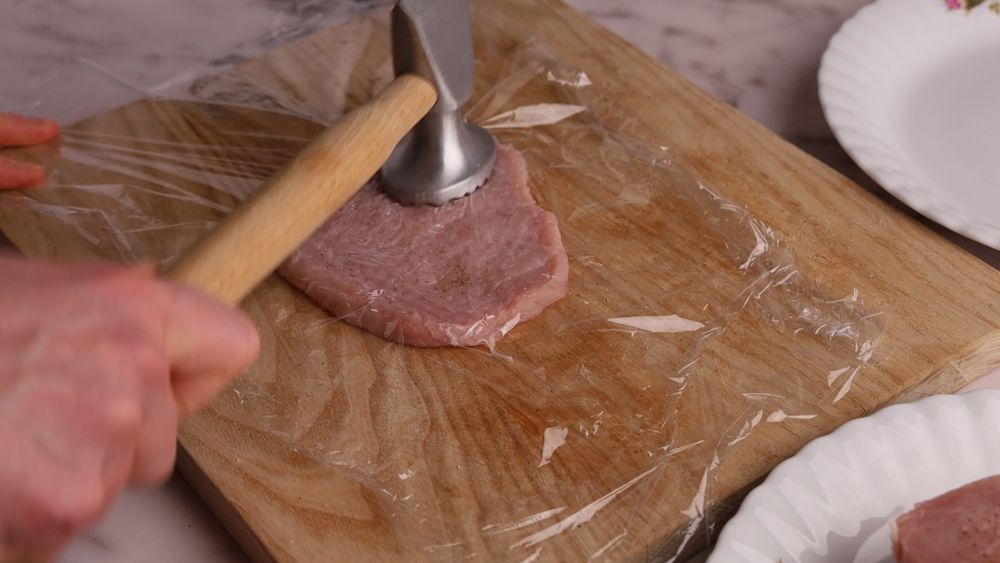
- Place pork chops between 2 sheets of plastic wrap on a solid, level surface, preferably a cutting board that’s more than twice the size of the cut. Using the wrap helps keep the cutting board clean (so you don’t need to wash it after) and keeps the meat particles from contaminating the entire kitchen. Firmly pound using a meat tenderizer until the chop is about 1/4-inch (or 6mm) thick. Slightly thicker or thinner chops are okay but don’t go super thin, or they’ll start to tear.
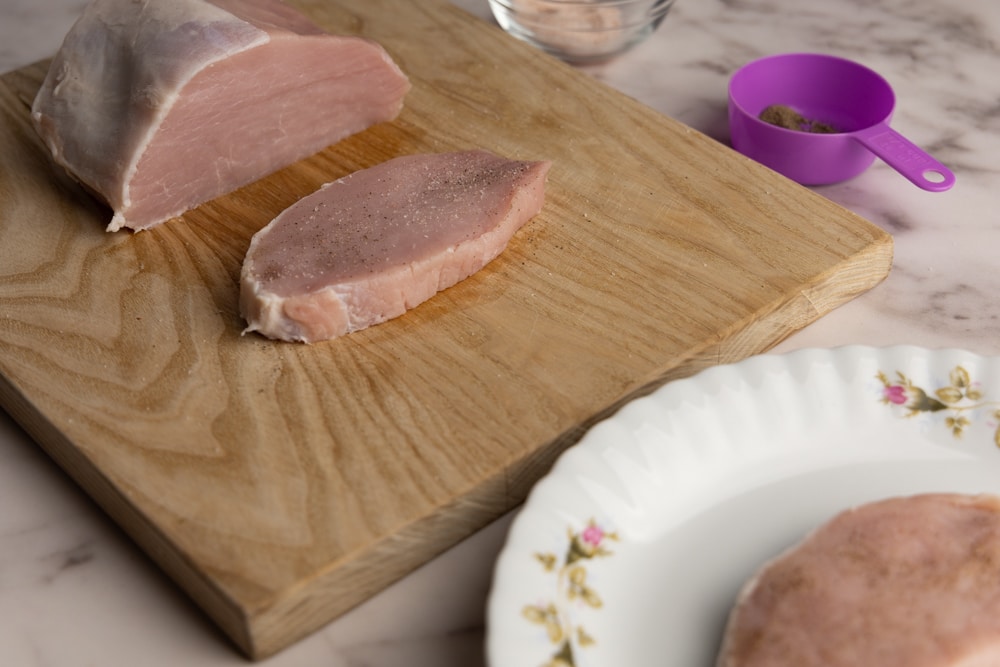
- Season both sides with salt and pepper. Just a pinch or two spread evenly throughout is perfect.
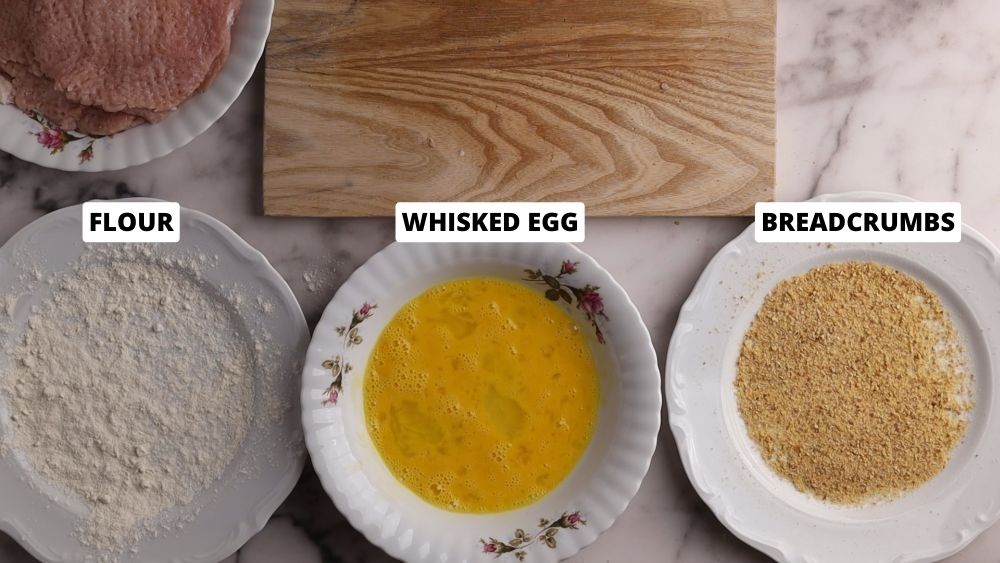
- Prep your breading station. Pour flour onto a large plate, whisk the egg in a wide, shallow bowl, and pour the breadcrumbs onto another large plate. Drenching with flour is optional, so you can skip it.
- Bread the chops. Grab a seasoned chop, dredge both sides with flour, dip in the whisked egg, and coat with breadcrumbs, making sure the whole area is evenly coated. Set aside and repeat with the remaining chops.
- Place a large skillet over medium-high heat and cover the surface with a thin layer of lard or cooking oil. The oil shouldn’t spill over to the top side of the breaded chop after you place it in the skillet. Make sure the fat is nice and warm before proceeding.
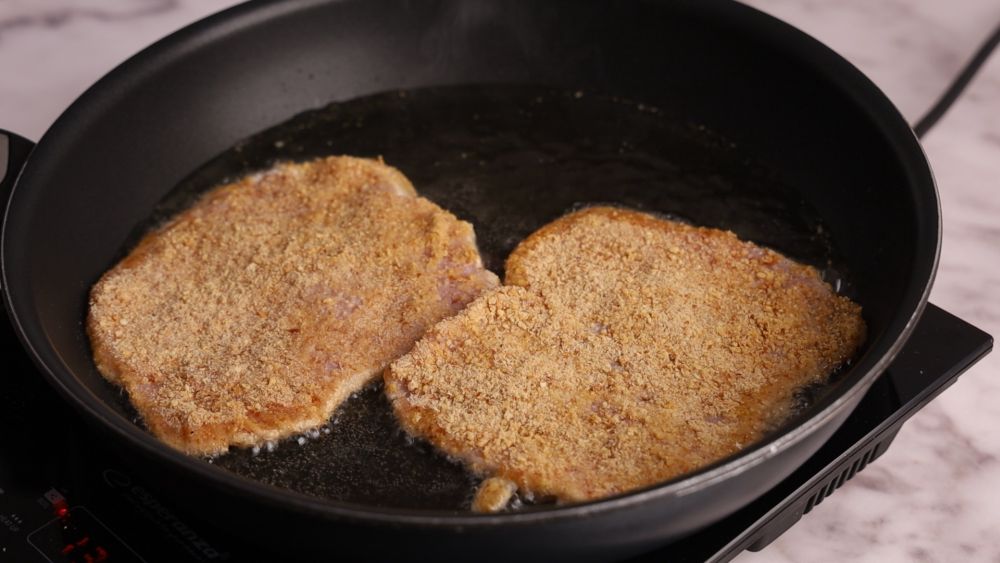
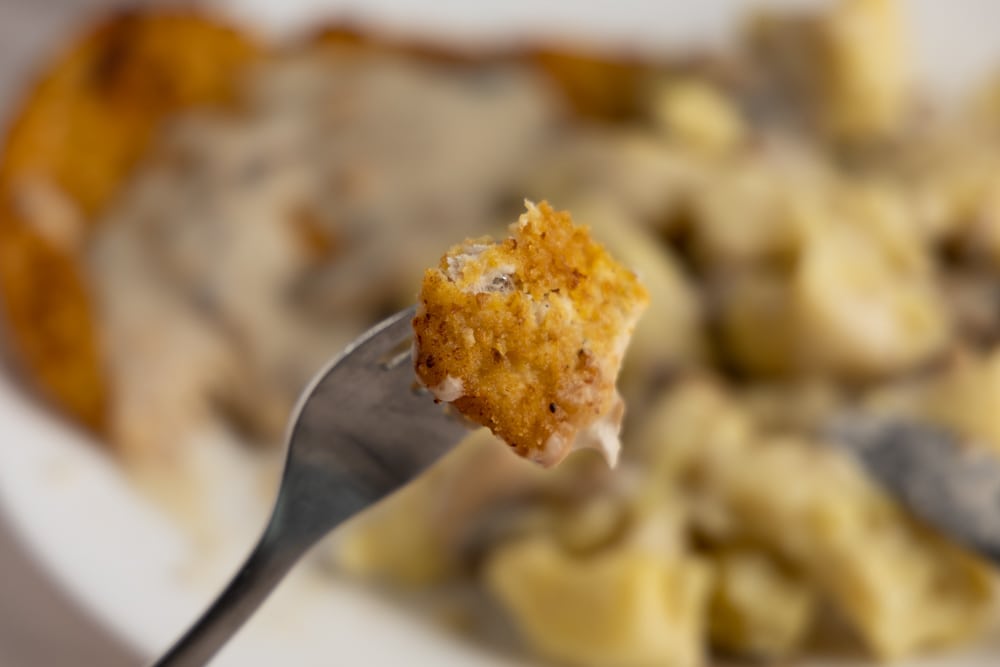
- Cook the breaded pork chops until golden brown, about 3 minutes per side for thin cuts and up to 5 minutes for thick ones.
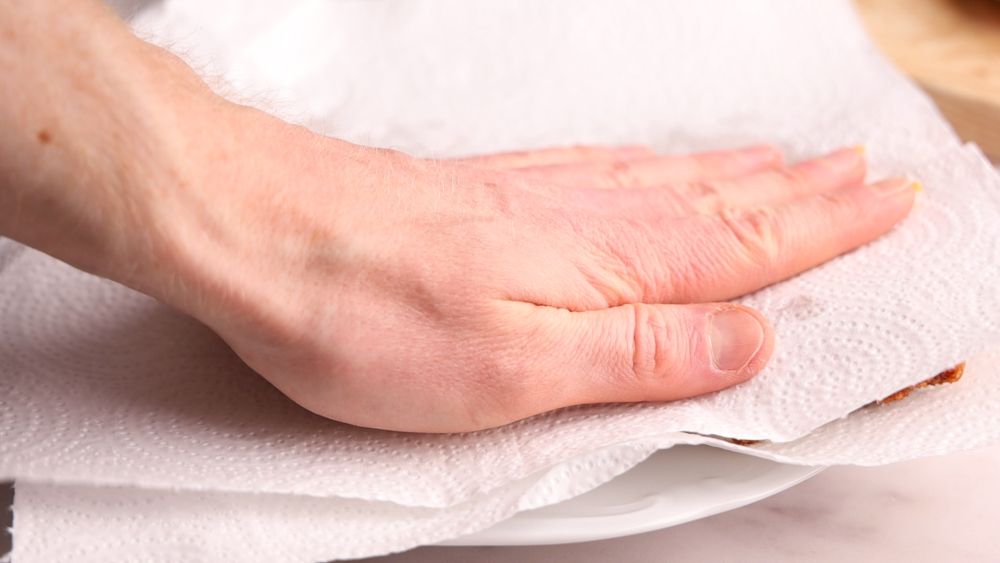
- After cooking, place on a large plate lined with paper towels and remove excess oil before serving.
Variations
- Chicken or turkey. This recipe is traditionally made with pork loin, but you can just as well use chicken or turkey breast. When doing so, you may want to use your favorite chicken seasoning if you’re feeling adventurous. Or stick to the classic salt and pepper that never dissapoints.
What to Serve With Polish Breaded Pork Chops
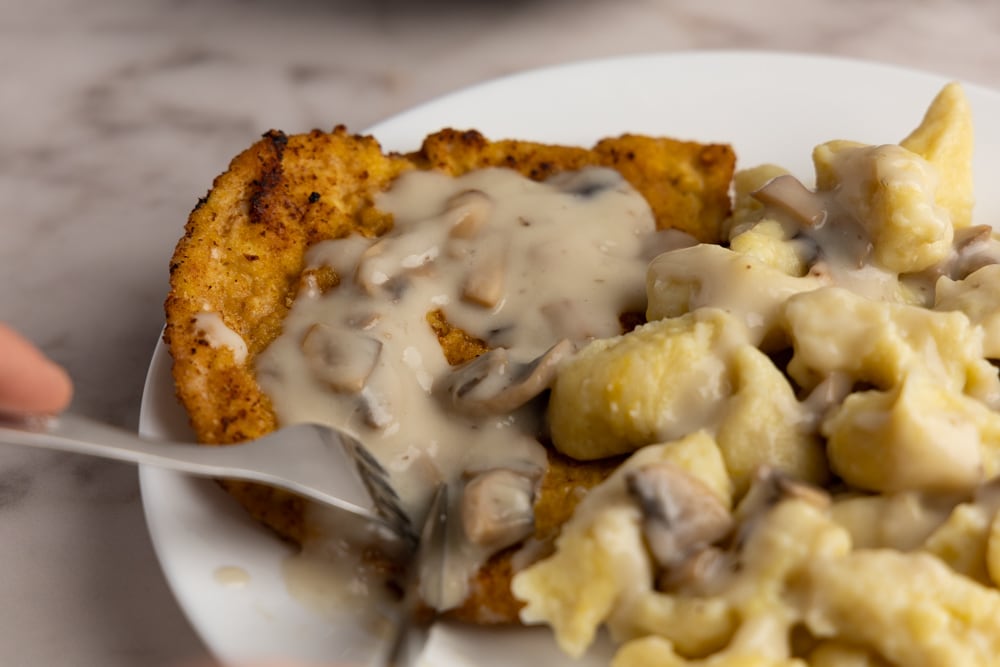
- Potatoes. These breaded pork cutlets are typically served alongside mashed potatoes, but plain boiled potatoes work just as well. If you have an extra 20 minutes and feel fancy, try these polish potato dumplings as an alternative to mashed potatoes.
- Salad. A light veggie salad pairs nicely with this meat-heavy main. This sauerkraut salad is a great option that takes only about 15 minutes to whip, and so is this polish cucumber salad. Or you can go with something as simple as a mix of grated carrots and apples.
Storage
Let the cutlets cool to room temperature, then transfer them into an airtight container or freezer bag and refrigerate for 3 to 4 days.
If you need more time, you can freeze them in freezing bags.
Reheating
When reheating, remember you don’t want to fry them one more time. They’re already nicely browned and crispy on the outside. You just want to make sure they’re warm before you dig in.
Here’s how you can reheat breaded pork chops:
- On the stove. Reheat in a lidded non-stick skillet on medium-low for about 4 to 5 minutes per side. If you don’t have a non-stick skillet on hand, use any other pan, but add a tablespoon of lard or oil so that the cutlet(s) won’t stick. You might need more time if you’re going with a lidless setup.
- In the oven. Place the cutlets on a baking tray and cover them using aluminum foil. Covering makes sure the pork chops don’t darken or burn and helps retain heat, warming up the meat quicker. Cook the cutlets for about 15 – 20 minutes in an oven preheated to 360°F (or 180°C). Line the baking tray or cover the surface with a bit of oil to prevent sticking.
Polish Breaded Pork Cutlets
Equipment
- meat tenderizer
Ingredients
- 2 boneless pork chops (go with a bit thicker than ½-inch chops if cutting the meat yourself)
- ½ cup breadcrumbs
- ⅓ cup all-purpose flour
- 1 egg
- salt to taste
- pepper to taste
- oil or lard for frying
Instructions
- Place pork chops between 2 sheets of plastic wrap on a solid, level surface, preferably a cutting board that's more than twice the size of the cut. Firmly pound using a meat tenderizer until the chop is about 1/4-inch (or 6mm) thick. You can go with slightly thicker or thinner chops depending on preferences, but don’t go super thin, or they’ll start to tear.
- Season both sides with salt and pepper. Just a pinch or two spread evenly throughout is perfect.
- Prep your breading station. Pour flour onto a large plate, whisk egg in a wide, shallow bowl, and pour the breadcrumbs onto another large plate.
- Bread the chops. Grab a seasoned chop, dredge both sides with flour, dip in the whisked egg, and coat with breadcrumbs, making sure the whole area is evenly coated. Set aside and repeat with the remaining chops.
- Place a large skillet over medium-high heat and cover the surface with a thin layer of lard or cooking oil. Make sure the fat is nice and warm before proceeding.
- Cook the breaded pork chops until golden brown, about 3 minutes per side for thin cuts and up to 5 minutes for thick ones.
- After cooking, place on a large plate lined with paper towels and remove excess oil before serving.
Notes
- When heating the fat, make sure it is hot enough that it immediately sizzles when you add the breaded pork. If it doesn’t, adjust the heat accordingly.
- After a minute of cooking, the cutlets should still be relatively pale. If they’re already browning, the heat is too high and should be lowered.
- If you prefer thicker cutlets, make sure to cook them until they reach an internal temperature of at least 145°F (or 63°C) for food safety reasons.
- If you find that a single whisked egg is not enough to coat all of the cutlets, stir in 1-2 tablespoons of milk into the remaining egg instead of cracking another one.
- If you’re cooking multiple batches, add more oil or lard as needed when the remaining fat no longer covers the surface.
- If you start seeing black spots on the cooked cutlets, it’s likely that some of the leftover breading in the skillet is burning. To avoid this, remove any remaining breading from the pan after removing the cutlets. While some people prefer to clean the skillet using paper towels after every cutlet, it may not be necessary as long as all burnt breadcrumbs are removed.
Like this recipe? Share it with friends!
![Sweet Cheese Pierogi Recipe [+2 Flavoring Options]](https://definitelynotachef.com/wp-content/uploads/2023/08/Sweet-cheese-pierogi-with-sauce-and-fresh-berries.jpg)
